Last updated October 15, 2026
ADU Permits, Codes & Inspections in CA: What You Need to Know
State law says California cities cannot deny a compliant ADU application. But “compliant” is doing a lot of work in that sentence, and what qualifies in Sacramento doesn’t automatically qualify on a San Francisco hillside lot. Since the 2020 – 2023 ADU reform laws took effect, we’ve watched a steady trickle of homeowners walk into the permit process assuming the state stripped cities of all their power. Then the first plan-check comment arrives. This guide draws the actual boundary between what state law requires San Francisco to allow and what the city can still legally restrict, step by step, and points to The Complete Guide to ADU in San Francisco for deeper context.
Quick Answer
California ADU law sets a statewide floor that every city, including San Francisco, must follow: any single-family lot can add at least one ADU of 800 square feet or less with 4-foot side and rear setbacks, and a JADU within the existing home is allowed with no added parking. But San Francisco legally retains control over zoning districts, historic overlays, steep-slope engineering, tree protection, and design review. You need a building permit for every ADU, a site permit if you’re on a slope or in a special district, and a planning permit only in specific overlay zones. Expect the full entitlement and inspection timeline to run 4 to 9 months in San Francisco, not the 60-day myth often cited online.
Table of Contents
- What State Law Requires vs. What San Francisco Can Still Restrict
- The Three Permit Types in San Francisco (And Which Projects Need All Three)
- The Step-by-Step ADU Permit Process in San Francisco
- The Inspection Sequence: What Gets Checked and What Fails Most Often
- Utility Connection Permits: The Separate Track That Extends Timelines
- What Happens If You Fail Final Inspection (And How to Recover)
- What ADU Permits Actually Cost in San Francisco
- Common Mistakes to Avoid
- When to Call a Professional
- Frequently Asked Questions
What State Law Requires vs. What San Francisco Can Still Restrict
California Government Code Sections 65852.2 and 65852.22 set the non-negotiable baseline for every city in the state. Any single-family lot zoned residential must be allowed one detached or attached ADU of at least 800 square feet, with setbacks no greater than 4 feet for side and rear yards, and a maximum height of 16 feet (or 18 feet if within half a mile of transit). Cities cannot require parking for an ADU within half a mile of public transit, and they cannot charge impact fees for an ADU under 750 square feet. Those rules apply in San Francisco exactly as they apply in Fresno.
What the state did not do is erase local zoning. San Francisco can and does still regulate:
- Height limits in specific districts. The state’s 16-foot allowance applies to detached ADUs generally, but San Francisco can enforce lower heights in districts where the underlying zoning is more restrictive, including certain RH-1 and RH-2 neighborhoods.
- Front setbacks. State law only caps side and rear setbacks at 4 feet. Your front setback is still governed by San Francisco’s Planning Code, and on many lots that means 15 feet or more.
- Historic and landmark protections. If your property sits within an Article 10 or Article 11 landmark district, San Francisco can require design review and can, in narrow cases, deny an ADU that would demonstrably impair a historic resource. This is one of the few remaining legal denial paths.
- Steep-slope and seismic engineering. San Francisco’s Building Code requires additional geotechnical review on lots with 25% or greater slope, and because the city sits in Seismic Design Category D, every ADU foundation must be engineered for lateral loads. A flat-lot ADU kit approved in Sacramento may need a completely different foundation design in Potrero Hill or Twin Peaks.
- Tree protection. San Francisco’s Urban Forestry Ordinance protects significant trees, and if your ADU encroaches on a protected tree’s root zone, the city can require an arborist report and a construction protection plan before the permit moves forward.
- Minimum lot size and floor area ratio. A handful of San Francisco zoning districts retain minimum lot dimensions and maximum FAR limits that can constrain an ADU’s size even when the state’s 800-square-foot allowance otherwise applies.
In practice, the single biggest point of friction we see is homeowners assuming “state law says I can” means “San Francisco must approve.” State law says the city cannot deny a compliant ADU. What the city controls is the definition of compliant, within the bounds the state allows. That’s the gap. Knowing which side of the line your project falls on before you spend money on drawings is the entire game. If you’re early in planning, our guide to ADU Builders in San Francisco walks through the site and budget realities before you get to the permit counter.
The Three Permit Types in San Francisco (And Which Projects Need All Three)
San Francisco’s Department of Building Inspection (DBI) and Planning Department operate on a three-track system. Most homeowners only know about the building permit. Depending on your lot, you may also need a site permit, and in a small subset of cases, a planning permit. Here’s what each one actually does, and who needs which.
1. Building Permit
Every ADU in San Francisco requires a building permit. This is the permit that governs structural safety: foundation, framing, electrical, plumbing, mechanical, insulation, and fire separation. It’s issued by DBI after plan review, and it’s the document that triggers your inspection sequence. There is no ADU project, even a 300-square-foot prefab studio from Abodu or a Tuff Shed conversion, that skips the building permit.
2. Site Permit
A site permit is a separate DBI review that addresses how the structure sits on the land: grading, drainage, retaining walls, excavation, tree protection, and slope stability. If your lot has a slope of 25% or greater, if you’re excavating more than 2 feet, if you’re adding fill, or if you’re building in a designated landslide or liquefaction zone, you will need a site permit in addition to your building permit. This is enormously common in San Francisco. Glen Park, Diamond Heights, Noe Valley, Twin Peaks, and large parts of the Richmond and Sunset sit on mapped hazard zones. If your lot isn’t flat, budget for the site permit.
3. Planning Permit
A planning permit is required only when your ADU triggers a specific San Francisco Planning Code provision that the state ADU law does not preempt. The most common triggers are historic district review (Article 10 or Article 11), an underlying variance, a lot with nonconforming status, or an ADU application that exceeds the state-protected minimums in some dimension the city can legally regulate. Most straightforward ADUs on standard San Francisco lots do not need a planning permit. But if you’re adding an ADU to a landmarked Victorian, or your lot is one of the city’s many nonconforming parcels, you’ll be in front of Planning.
Here’s a plain way to think about it. Every ADU needs a building permit. A sloped or geologically sensitive lot adds a site permit. A historic or nonconforming lot adds a planning permit. If all three apply, your timeline roughly triples. A project that would clear DBI plan check in 4 months can stretch to 9 or 10 with Planning Department review added on. That’s not a delay glitch; it’s the system working as designed.
The Step-by-Step ADU Permit Process in San Francisco
Here’s the actual sequence, in order, for a typical detached ADU in San Francisco. This is the process we walk clients through on a home addition project in San Francisco, and the same logic applies whether the ADU is stick-built or a prefab unit from Dvele, Cover, or Plant Prefab.
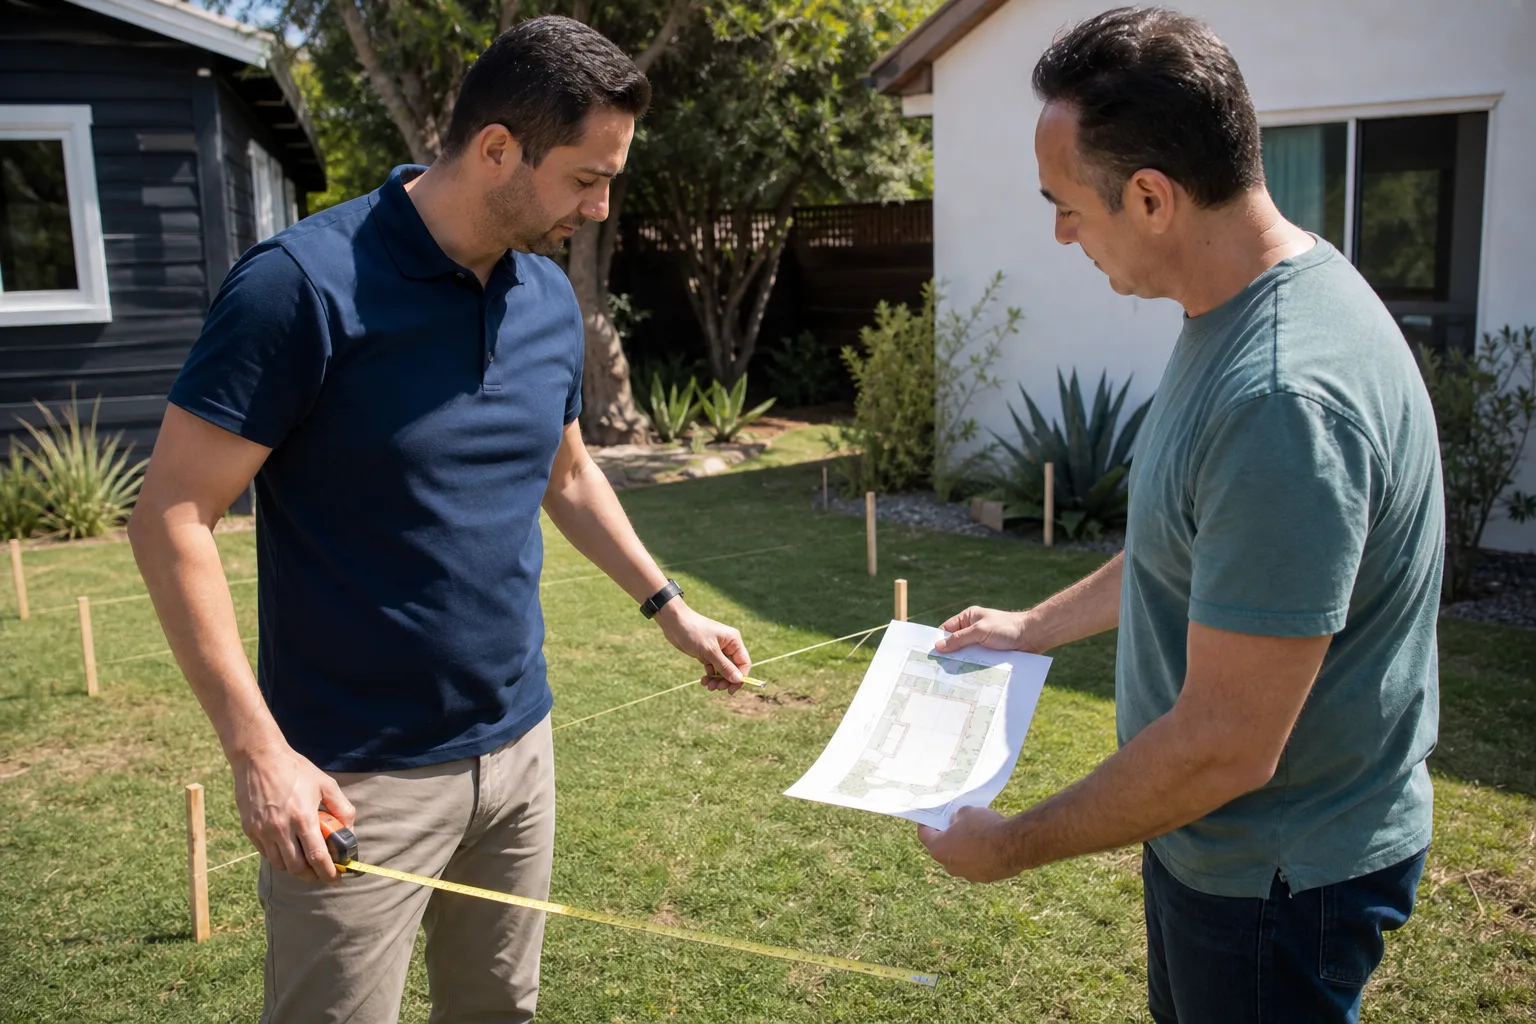
- Preliminary site review. Before you spend money on construction drawings, pull your property’s zoning, hazard overlay, and historic status from the Planning Department’s Property Information Map. If you’re in a landslide zone, a liquefaction zone, or an Article 10 district, those findings will shape everything downstream. Budget 1 to 2 weeks if you’re doing this yourself.
- Pre-application meeting (optional but recommended). San Francisco offers a pre-application review with Planning and DBI staff. It costs a few hundred dollars and can surface issues early. For slope or historic projects, we consider this non-optional.
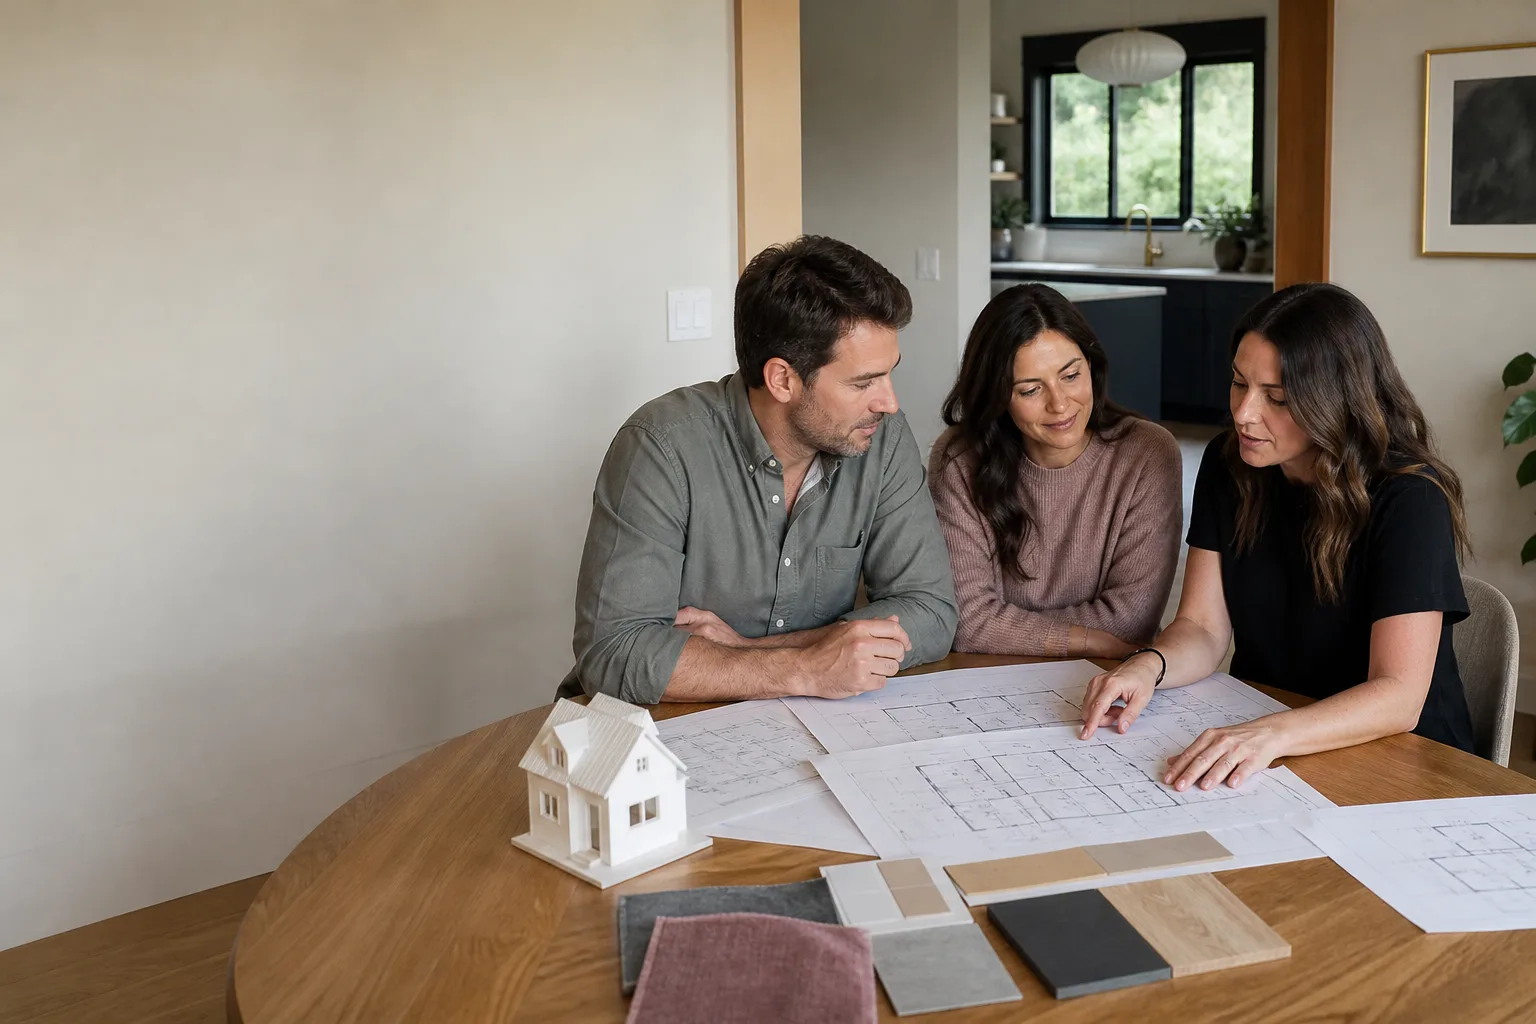
- Prepare construction drawings. You need architectural drawings, structural calculations (stamped by a California-licensed engineer), a Title 24 energy compliance report, and a site plan. For a standard flat-lot ADU, a designer can often complete this in 3 to 6 weeks. For sloped or historic lots, expect 8 to 12 weeks.
- Submit to DBI for plan review. DBI routes your application through multiple review stations: building, electrical, plumbing, mechanical, and energy. First-pass review currently runs 6 to 10 weeks in San Francisco. If your project triggers Planning review, that runs parallel and adds 4 to 8 weeks.
- Address plan-check comments. Most ADU applications receive at least one round of corrections. Common comments on San Francisco plans involve shear wall detailing, Title 24 energy calculations, drainage, and fire sprinkler requirements. Each correction cycle adds 2 to 4 weeks.
- Permit issuance. Once all review stations sign off and fees are paid, DBI issues the permit. You’re now legal to begin work.
- Construction and inspections. This is the phase we cover in detail below. Typical construction duration for a stick-built ADU in San Francisco is 6 to 10 months. A factory-built unit from a brand like Abodu, once the site work is complete, can be set and finished in 4 to 8 weeks.
- Certificate of Final Completion. After final inspection passes, DBI issues the Certificate of Final Completion. That document is what triggers your assessor’s office to classify the ADU as legal square footage, and it’s what you’ll need for future refinancing or sale.
The timeline most sources quote online is badly outdated. A 60-day approval was plausible in 2017. In 2026, a clean flat-lot ADU in San Francisco should be budgeted at 4 to 6 months from application to permit issuance, and 6 to 9 months if site or planning permits are involved. Anyone promising faster is either quoting state statute, not local practice, or selling you something.
The Inspection Sequence: What Gets Checked and What Fails Most Often
San Francisco DBI inspections follow a fixed sequence, and you cannot proceed to the next stage until the current one passes. Here’s the order, what the inspector is looking for at each stage, and what we see fail most often.
Step 1: Foundation and Underground
After excavation but before concrete placement, the inspector checks footing depth, rebar placement, anchor bolt spacing, and any underground plumbing or electrical that will be buried. The most common failure here is rebar tied incorrectly or anchor bolts set at the wrong spacing. Fixing it means rework before the pour, which is cheap. Failing to schedule the inspection is expensive: if you pour concrete without the inspection, DBI can require you to expose the footing.
Step 2: Rough Framing
Once the floor, walls, and roof are framed but before insulation or drywall, the inspector verifies stud spacing, header sizing, shear wall nailing patterns, hold-down placement, roof framing connections, and window and door header details. In San Francisco’s seismic zone, the shear wall inspection is the single most thorough part of the entire sequence. The most common failure is missing or incorrectly spaced nailing on shear panels. On hillside lots, we also see hold-downs installed at the wrong locations or with the wrong bolt sizes. Framing corrections at this stage are usually a one- to three-day fix.
Step 3: MEP Rough-In
Electrical, plumbing, and mechanical rough-in are inspected after the framing pass but before walls are closed. The inspector checks wire gauge and support, pipe slope and venting, duct sizing and sealing, and separation from combustible materials. Common failures: plumbing vents that don’t meet minimum rise requirements, electrical boxes too shallow, or improper gas line pressure testing. On prefab ADUs from brands like Cover and Dvele, a factory-installed MEP core can speed this stage significantly, but the site connections still get inspected just as thoroughly.
Step 4: Insulation
San Francisco requires Title 24 compliance, and the insulation inspection verifies wall and ceiling R-values, air sealing, and the thermal envelope. The most common failure is missing insulation in rim joists or improperly sealed penetrations. This inspection frequently fails because the Title 24 report specifies a value, and the installed product doesn’t match it. Have your Title 24 consultant’s report on site for the inspector to compare.
Step 5: Final Inspection
The final inspection covers life-safety items: egress windows, smoke and carbon monoxide detectors, handrails, guard rails, stairs, door hardware, and the exterior walking surfaces. It also confirms all prior corrections are signed off. The most common final failure in San Francisco is a missing smoke/CO detector pair or an egress window that is 2 inches too small. These sound trivial; they fail finals every week. The fix is usually same-day.
The full inspection sequence for a standard detached ADU typically runs 6 to 12 inspections total, depending on project complexity. Most failures are corrections, not rejections. A correction is the inspector saying “fix this specific item and schedule me back.” That’s normal and expected. A rejection is rare and usually means the work is fundamentally not to code.
Utility Connection Permits: The Separate Track That Extends Timelines
Here’s a piece of the process nobody’s YouTube channel covers. Your ADU’s building permit governs the structure. Your connections to water, sewer, and electrical service are governed by separate agencies, on separate timelines, with separate fees and separate inspections. If you don’t plan for them, they will extend your project by months.
- Water. For a new detached ADU, you’ll typically need a new water service connection or a sub-meter from the San Francisco Public Utilities Commission (SFPUC). If your existing service is undersized, SFPUC can require a larger line brought in from the street. That’s a separate permit, a separate excavation, and a separate inspection. In older neighborhoods with aging mains, expect SFPUC involvement to add 6 to 12 weeks.
- Sewer. The SFPUC also governs sewer lateral connections. If your ADU connects to the existing sewer lateral, you may need a lateral inspection and possibly a replacement if the line is old clay pipe. San Francisco has a specific lateral ordinance, and if your lateral fails, you’re replacing it. That’s a $5,000 to $15,000 line item that no state ADU law protects you from.
- Electrical. PG&E governs electrical service. A new ADU will usually require a panel upgrade or a new service drop. PG&E’s timeline for service planning, design, and connection in San Francisco currently runs 3 to 6 months, and it operates completely independently of DBI. The most common schedule killer we see is a homeowner who gets their building permit approved, starts construction, and only then discovers the panel upgrade with PG&E will take another four months.
- Gas (if applicable). If your ADU has gas appliances, PG&E runs the gas service connection on the same separate-track model. If you’re going all-electric (which San Francisco strongly encourages and the state is moving toward), you eliminate this track entirely.
The correct move is to file your utility applications at the same time you submit your building permit application, not after permit issuance. This is a small administrative step that saves a large, avoidable delay. The written price and schedule from our team on any room addition or ADU project in San Francisco includes utility permit timelines, not just the DBI track, because that’s where real-world schedules are won or lost.
What Happens If You Fail Final Inspection (And How to Recover)
Final inspection failures happen all the time, and in the vast majority of cases they are minor, fixable, and settled within a week. Here’s what actually occurs, step by step, when a San Francisco DBI inspector signs off with corrections.
- You receive a Correction Notice. The inspector records specific items with code references. This is not a stop-work order. It is a list. The notice tells you exactly what to fix and which code section applies.
- Review the items with whoever did the work. Most corrections are contractor responsibility. If you’re working with a general contractor, the correction notice goes to them and they fix it on their own dime if it was their error. This is exactly the scenario the Sutton ADU San Francisco 365-Day Done Right Promise is built for: if the work isn’t right within a full year of project completion, we make it right. Written, not verbal.
- Make the corrections. Typical items are detector placement, egress dimensions, handrail height, or missing documentation. The fix is usually hours, not days.
- Schedule a reinspection. DBI reinspections for the same item are typically a nominal fee. The reinspection is more targeted than the original; the inspector checks the corrected item and confirms nothing else changed.
- Receive the Certificate of Final Completion. Once the reinspection clears, the certificate is issued and the permit is closed. The ADU is now legal living space.
What you want to avoid is a situation where the correction is structural, the original installer is gone, and you’re paying someone new to diagnose and redo work. That’s the expensive version of a final failure. It’s also rare when the people on site from day one are still standing behind their work. The worst-case scenario, which we have only seen a handful of times in our years building in San Francisco, is a project where the foundation or framing was not built to the approved plans and the only remedy is to expose the work and rebuild. That’s why inspection scheduling discipline matters. Never cover work before it’s inspected.
What ADU Permits Actually Cost in San Francisco
Permit fees in San Francisco are not a rounding error. They’re a real line item, and the range is wide because DBI calculates fees based on valuation, and Site and Planning permits add layers. Here are realistic ranges for 2026.
| Permit / Fee Component | Typical Range in San Francisco |
|---|---|
| DBI building permit (standard detached ADU) | $4,000 – $12,000 |
| Plan review fees | $1,500 – $4,000 |
| Site permit (sloped / hazard lots) | $2,000 – $6,000 |
| Planning permit (historic / nonconforming) | $3,500 – $9,000 |
| School impact fees (ADUs over 750 sq ft) | $3,000 – $8,000 |
| SFPUC water and sewer connection permits | $1,500 – $5,000 (plus actual lateral work) |
| PG&E service planning and connection | $1,000 – $6,000 (plus panel upgrade work) |
| Total permit and fee package | $10,000 – $40,000 |
The wide spread reflects the difference between a flat-lot, all-electric ADU on a standard Sunset District parcel and a steep-slope, gas-connected ADU on a landmarked lot in Noe Valley, which is where the upper end lives. The most efficient way to get an accurate number for your specific parcel is to have the site walked and priced by someone who has done this in San Francisco repeatedly. Estimates are free, and you should never accept a quote from anyone who hasn’t seen the lot.
Common Mistakes to Avoid
- Assuming the state preempts everything. The state sets a floor. San Francisco sets the ceiling on details like front setbacks, height in specific districts, historic review, and slope engineering. Don’t skip the local check.
- Buying plans before checking your hazard overlays. A $4,000 set of stock ADU plans is worthless if your lot triggers a site permit with geotechnical requirements. The geotech report changes the foundation design, which changes everything downstream.
- Covering work before the inspection. If drywall goes up before the rough-in inspection, you will be pulling drywall off. In our experience, this is the single most avoidable schedule disaster in San Francisco ADU construction.
- Filing utility applications late. PG&E and SFPUC don’t read your DBI permit and speed up. Their timelines are independent, and they’re the longest single track in many projects.
- Not budgeting for the sewer lateral. San Francisco’s lateral ordinance is unforgiving. If you’re connecting to a 1950s clay lateral, plan for replacement.
- Trusting a “60-day” timeline. That’s state statute language, not San Francisco practice. Budget 4 to 9 months for permits and 6 to 10 months for construction, and you’ll be realistic rather than perpetually disappointed.
- Choosing a builder on price alone for a hillside lot. Slope work in San Francisco is not commodity construction. The lowest bidder on a Twin Peaks ADU is often the one who didn’t understand the site permit.
When to Call a Professional
The right moment to bring a builder into the conversation is before you spend money on drawings, not after. If your lot has any slope at all, if you’re in or near a historic district, if your existing house is older than about 1970, or if you want the clearest possible read on what your specific parcel will actually cost and how long it will actually take, the pre-application stage is where expertise pays for itself. See DIY vs Professional ADU: The San Francisco Homeowner’s Decision Guide. Sutton ADU San Francisco offers free estimates in San Francisco: we walk the site, check the overlays, and give you a written price before any work begins. Every crew member who comes to your door is background-checked, identity-verified, and photo-badged under the Threshold Standard, and their name and photo are sent to you before they arrive. Call (831) 272-7212 to schedule yours.
Frequently Asked Questions
A standard flat-lot ADU permit in San Francisco currently takes 4 to 6 months from application to issuance. If your project requires a site permit (sloped or hazard zone) or a planning permit (historic or nonconforming lot), budget 6 to 9 months.
Only in specific, narrowly defined cases. The city cannot deny a compliant ADU, but it can deny one that violates local rules the state has not preempted, most commonly historic resource protections or unmitigable slope and seismic hazards. A denial is rare; a set of plan-check corrections is the normal path.
Yes. Every ADU requires a building permit, including factory-built units from companies like Abodu, Cover, Dvele, and Plant Prefab. Prefab ADUs can shorten construction timelines, but they do not bypass permitting, site work, foundation engineering, or inspections.
No. A site permit is triggered by slope, grading, excavation, or hazard zone mapping. Flat lots in neighborhoods like the Sunset and Richmond Districts typically need only a building permit. Always verify your parcel’s overlay before assuming.
Most ADU permit packages in San Francisco run between $10,000 and $40,000 total, including DBI fees, school impact fees if applicable, and utility connection permits. The spread depends on site conditions, project size, and whether planning review is triggered. Call (831) 272-7212 for a written estimate specific to your lot.
The inspector issues a Correction Notice with specific items and code references. You fix the items, schedule a reinspection, and once it clears, the Certificate of Final Completion is issued. Most final failures are minor and resolved within a week. The 365-Day Done Right Promise from Sutton ADU San Francisco covers workmanship defects for a full calendar year from completion.
The Bottom Line
California’s ADU reform laws gave San Francisco homeowners a real path to add housing, but the path still runs through local rules that no state statute erased. Your job as a homeowner is to know which side of the line your project sits on: state floor, local ceiling, or somewhere in between. That knowledge determines your timeline, your costs, and your risk. The building permit is mandatory. The site permit is common on San Francisco’s slopes. The planning permit is rare but real. Utility timelines run on their own clock, and inspections reward people who never cover work early. Get the overlays checked before you spend money on drawings, and the rest is execution. Sutton ADU San Francisco has been building in this city since 2006, and the straight answer is always free.
Written by Miles Hartwell, Owner at Sutton ADU San Francisco, serving San Francisco since 2006.